
Two years ago, I shared the Gone Batty: Black, White & Purple Halloween Table. Since then, I’ve had many requests on how to do the bat shape napkin fold.

I did publish accompanying posts on how to Craft Marbleized Pumpkins Using Nail Polish in the centerpiece, craft feather bats to hang from a light fixture, and make DIY Spooky Dollar Tree Painted Halloween Glasses.
Apparently, I just ran out of time before it was time to move onto Thanksgiving and Christmas posts. After all, who wants a bat shape napkin fold tutorial in January lol?!
Although I directed folks to the Good Housekeeping YouTube video I followed, most complained it was too fast moving — under a minute in length! Before getting the hang of the bat fold myself, I must have paused and replayed it several dozen times. Don’t be scared off though! It might not be the easiest of napkin folds, but its not that difficult either.
So today, I’ve finally gotten around to creating a fully-illustrated, seven-step tutorial to remove the mystery of folding a bat shape napkin. Grab a fabric napkin ladies, and let’s get batty!
Bat Napkin Fold Tutorial

Napkin Choice: Color/Pattern, Fabric/Paper & Size
Before we get starting folding, let’s discuss choosing the napkin. Fabrics in black, purple, a Halloween print or plaid (as illustrated here), or even a black and white check would make a great bat. Part of the color or print choice is dependent on the table setting or plate you lay the bat napkin on.

Typically, I use my black and white, seasonal Wiccan pattern plates, as seen here on the Gone Batty: Black, White & Purple Halloween Table. So a black napkin pops, as would purple. Even if you don’t have any Halloween-specific dishes, you can create a spooky setting by placing a bat shape napkin on top of a white, orange, or purple plate. Or a purple bat on black.
Now consider the fabric itself. It’s best to use a napkin that the color or pattern is dyed on both sides of the fabric. Next, you might need to experiment with the weight or texture of the fabric — is it stiff, soft or slippery?

The black fabric napkins I used were silky, rayon. That made for more rounded, puffier edges and realistic shape. But it also made the body in the middle easier to collapse. I solved that by completing the bat shape fold right on the plate (skipping the final ironing step).
And, why not a paper bat napkin on a paper Halloween plate? I’ve never tried the fold with a paper napkin, but as long as it’s square, it should work fine. Although it may be more angular, like origami. Just replace the ironing step in this tutorial by pressing and creasing the folds with your hands.

Lastly, size of the napkin matters too. The black napkins were 16-inches and I think an ideal size. For this tutorial, 18-inch plaid napkins were used. Regardless of size, the unfolded, flat napkin must be square.

So don’t be a scaredy cat ladies, pull out a fabric napkin and try your hand at a bat shape napkin fold.
Step 1: Unfold Napkin & Lay Flat
But before you start, you might want to iron out any fold marks. Otherwise, begin by unfolding the napkin and laying it out flat, with the finished side down. I like to use one of my trusty foam boards (Dollar Tree) as a work surface.

Next, turn the napkin so it looks like a diamond shape sitting in front of you.
Step 2: Fold With Slant
Fold the top of the diamond down towards the bottom point, slightly off-center by about an inch.

Make sure that the finished triangle now has two bottom points. Those points will evidently become the ears of the finished bat shape napkin. That will also mean that the top two points of the triangle don’t exactly line up either.
Step 3: Fold Folded Edge Over
Next, fold the top of the napkin about two-thirds over; towards the two points.

Depending on size of the napkin, leave three to four inches at the bottom.
Step 4: Fold Each Wing Down
Now you’re going to form the wings of the bat. Fold each of the long ends over and downwards.

Make the folds so there is a one to two inch flat edge at the top. Later — after flipping the napkin around— that will be the bottom of the bat’s body.
Step 5: Fold Bottom Halves Upward
Now, to refine the bat’s wings, fold the bottom half upward on both sides.

Note how the edge of the wing should create a straight line with the fold in the body of the bat.

Here’s what your bat shape napkin should look like now. Note the differences in the tips of the wings. Don’t fret about it! In fact, every successfully finished folded bat will come out a little different than the other.
Next, flip the entire napkin around so that the bat’s pointed ears are at the top.
Step 6: Round the Bat Body
Start by either pushing both sides (wings) of the bat towards the center, or use a thumb and forefinger to pinch the fabric in the center. Either way, the result should be a more rounded, dimensional body.

Then use your other thumb to press down the bottom of the bat to flatten, hold the now cylindrical body in place.
This step might take a few tries to master, which can be trickier with rayon, satin or more “slippery” fabrics. Here’s where you might want to supplement this photo tutorial with the Good Housekeeping video.
Step 7: Iron
Finally, use an iron to press the bat shape napkin folds in place. Skip this step with silky fabrics or paper napkins.
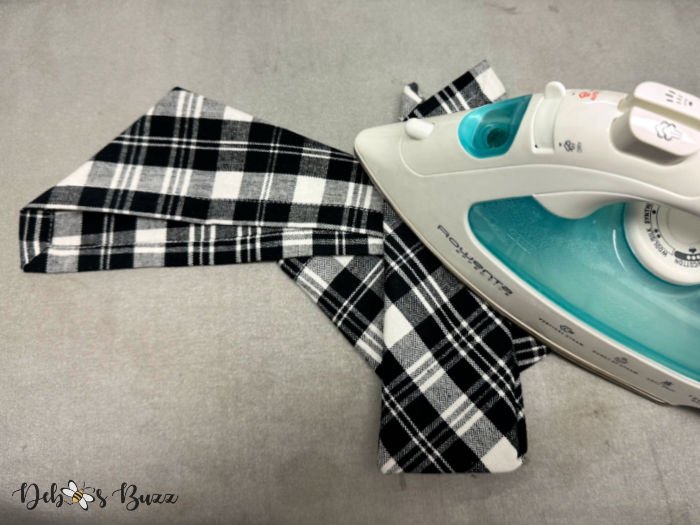
Even so, the middle body should still retain some of it’s “puffiness.”

Now you’re ready to transfer the bat shape napkin to the plate.
Rather than carrying the pressed napkins to the table, I usually keep the plates handy — right next to the ironing board.
What do you think? How did yours come out?

For more bat-related Halloween table setting and decorating ideas, be sure to check out the Gone Batty: Black, White & Purple Halloween Table, DIY Spooky Dollar Tree Painted Halloween Glasses, and Craft Marbleized Pumpkins Using Nail Polish.
Other Halloween Napkin Folds
As you can see, the finished bat napkin is rather large in relation to the dinner plate and place mat.

Take that into consideration when choosing a napkin fold to suit your Halloween table setting.

The easiest Halloween napkin fold is the bone, seen here on the Spooktacular Skeleton at the Feast Table.

For the mummy/skeleton napkin on the Halloween Gothic Glam Table, I used the ragdoll fold.

Last year, was the witch’s hat napkin fold on the Spooky Spellbound Halloween Centerpiece & Table. Like the bone fold, the witch’s hat holds together really well (you can make it with or without the spider ring). That makes them ideal for sitting on a buffet table for guests to pick up and take with them.
For over two dozen ideas, check out Napkin Folds for All Seasons, Holidays & Occasions.
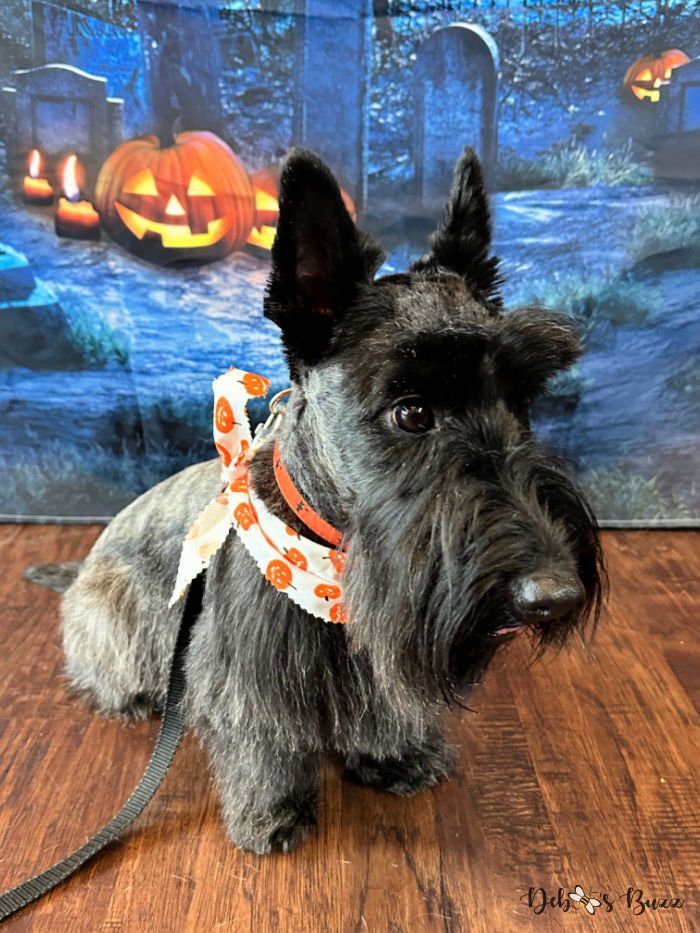
Here’s my freshly groomed familiar (Scottie dog lol) and I wishing you a happy and healthy Hallloween — boo!

Related Post Picks

Link Parties
I regularly participate in: Metamorphous Monday, Share Your Style, Tablescape Thursday, Thursday Favorite Things, Saturday Sparks, Happiness is Homemade, and Love Your Creativity.












Little Whiskey is so handsome! Thanks for the directions on folding bat napkins! What fun!
Ahh thanks Kay! I probably should have shared a picture of him in his bat costume to match the theme of the post lol! I love when he runs around with the wings flapping! Happy Halloween to you and yours!
That is such a cute idea!
Thanks Joanne, glad you enjoyed it. Happy Halloween to you and yours!
Whiskey looks like he is saying “Mom, is that deer coming here to trick or treat? Are you sure she is g-o-n-e ?”
We missed the bat costume ?
You are too funny Myrna! He does look cautious, suspicious. Probably more because he hates getting groomed. I will try to snap a pix of Whiskey in his bat costume this year. All I have now is video of him running around like crazy. Last year, the pix I took looked like a dead bat, with the wings flopped to the ground.
The bat napkin is cute, but Whiskey stole the show. He is such a cutie! Happy Halloween!
Kathy, so great to hear from you! Glad you liked the napkin fold. Whiskey thanks you for the compliment. He wasn’t such a cutie last night when the trick or treaters were coming and going. Just like his predecessor, Fibber, he went nuts barking. Ugh. At least none came to the door dressed like a deer lol (assuming you read the post about one attacking him…).